SHIFTY & BLURRY
While I was designing images for the Project Blue Book opening titles, I used Photoshop’s built-in Tilt-Shift Blur tool a lot. I had never used it before, and I thought it was super useful to get just the look I was going for. I enjoyed the relatively intuitive interface of the tool and found it satisfying to use.
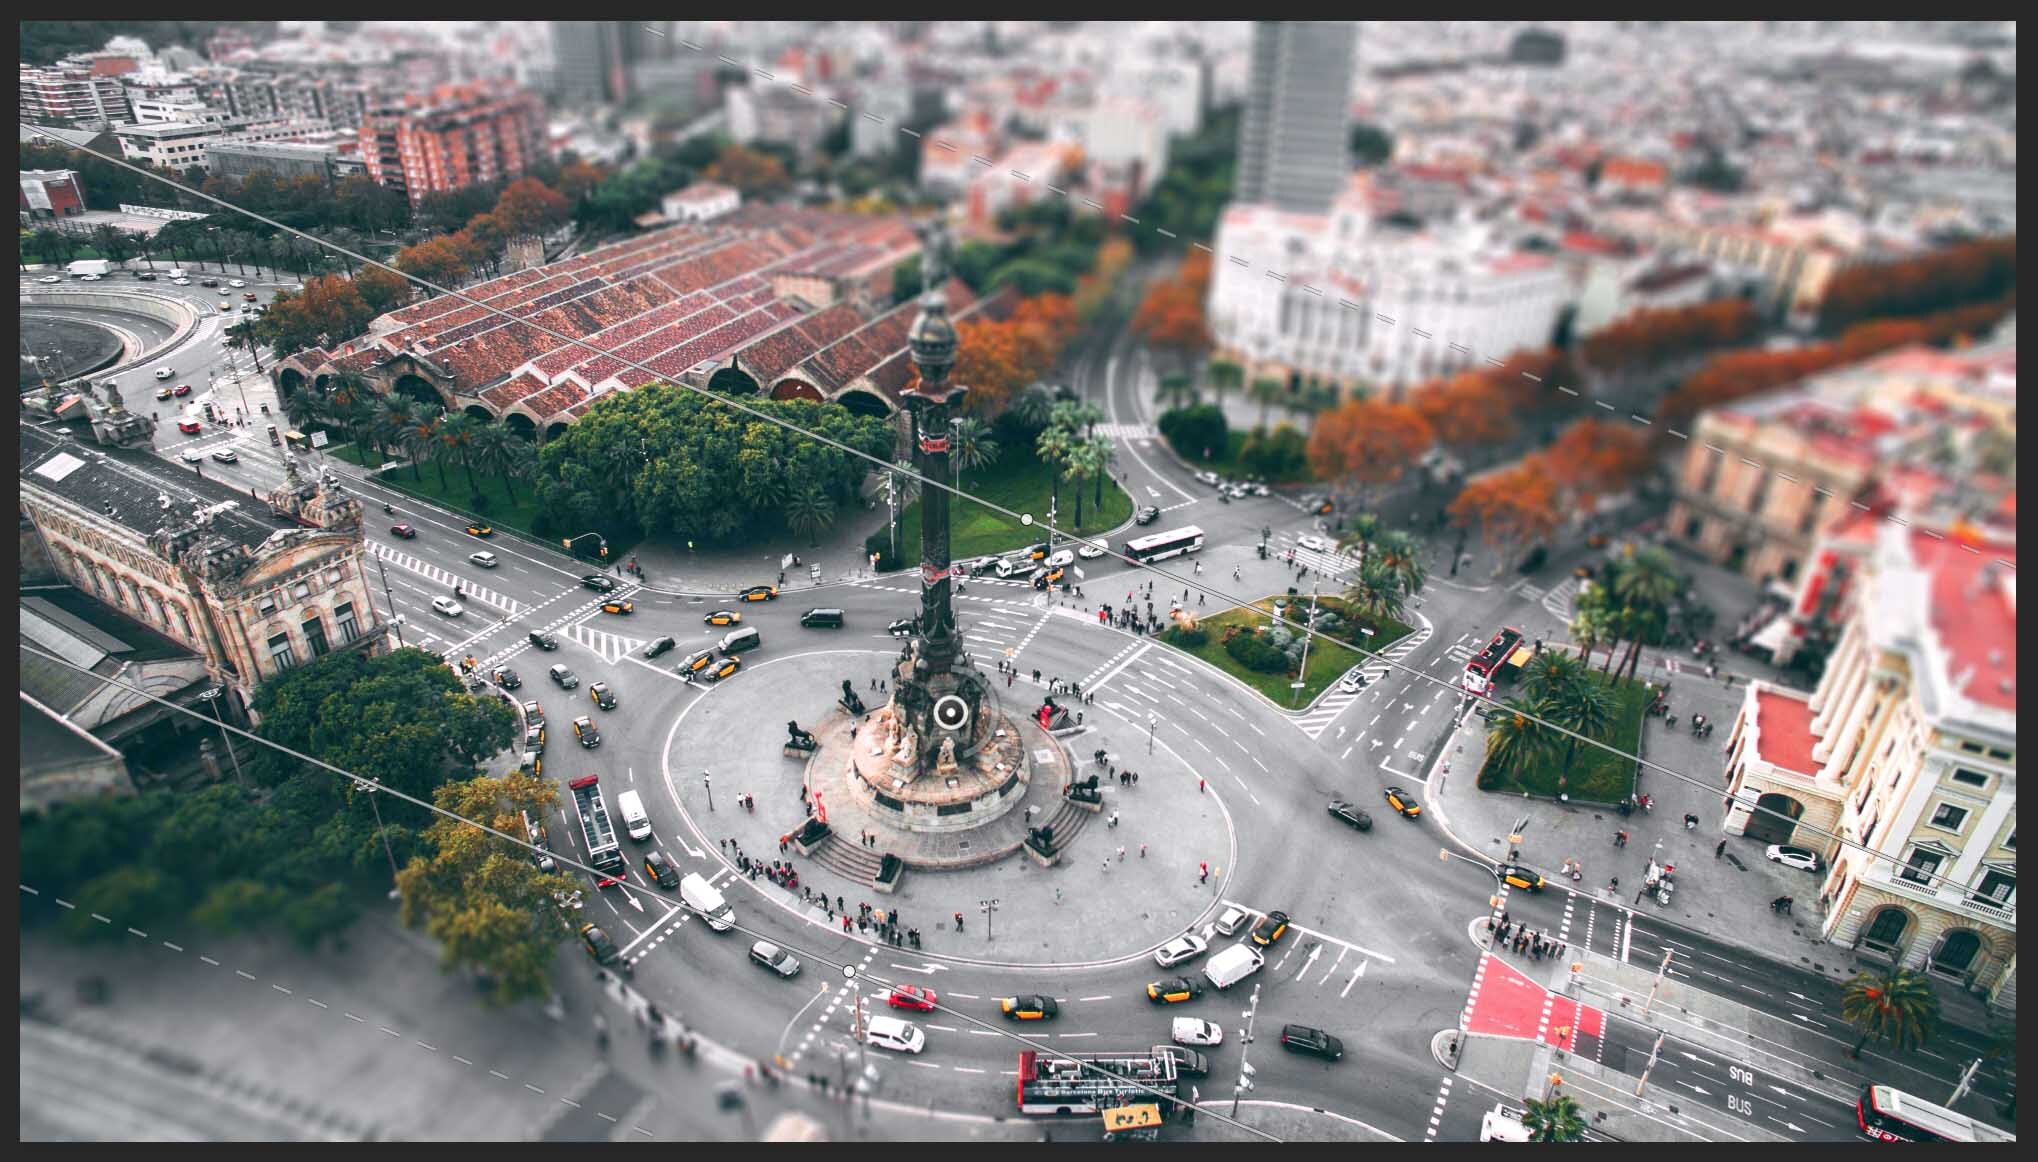
Here’s the native Photoshop UI. Basically there are four thin lines that represent the central and falloff points on two sides of the image. The whole rig can be rotated from the central circle.
Unfortunately, it also has some drawbacks that I found a little frustrating. Namely that the effect is destructive and cannot be edited later on, and also that it needs to be applied layer-by-layer and does not work as a top-level adjustment layer. Since I usually want most of my elements on their own layers for animation purposes, it would be annoying and time-consuming to apply the effect to all of my layers one by one.
Since I still wanted that Tilt-Shift look, I figured a better bet would be to apply it in AE. So I explored my options in After Effects but found them lacking. In the past I’ve used Camera Lens Blur plus a gradient in AE to simulate a simple Tilt-Shift blur look, but once I had gotten used to the Photoshop tool, that seemed like a shitty substitute.
For example, in Photoshop it’s easy to rotate the entire blur area, as well as widen and/or contract the blur falloff from both sides or the middle, but in AE that would be a big pain in the butt. Possible, but annoying. And since I wanted to potentially change the blur level, rotation and falloff for each shot of the sequence, VERY annoying.
I thought about buying the Red Giant Shrink Ray plugin, but I’m cheap and instead I thought “I can probably just make my own version”.
So yeah, I did that, and it actually worked out pretty well.

This is my copy of the Photoshop Tilt-Shift Blur in After Effects. Their handles are much smaller than mine — I made mine big to make ‘em easy to grab and slide up/down quickly. You can also turn off the whole UI if you find it to distracting.
I wound up using it for the whole project and in the end I thought … maybe this could be useful for other people? I’m 100% positive that someone should make a plugin or script that handles this in After Effects, but if you need something right now give this a shot.
To download the project, and for further instructions on how to use it, GO HERE.